GUIDE · DRESSES
Photographing dresses that sell.
With dresses, length is what counts. And you can't see it on a hanger.
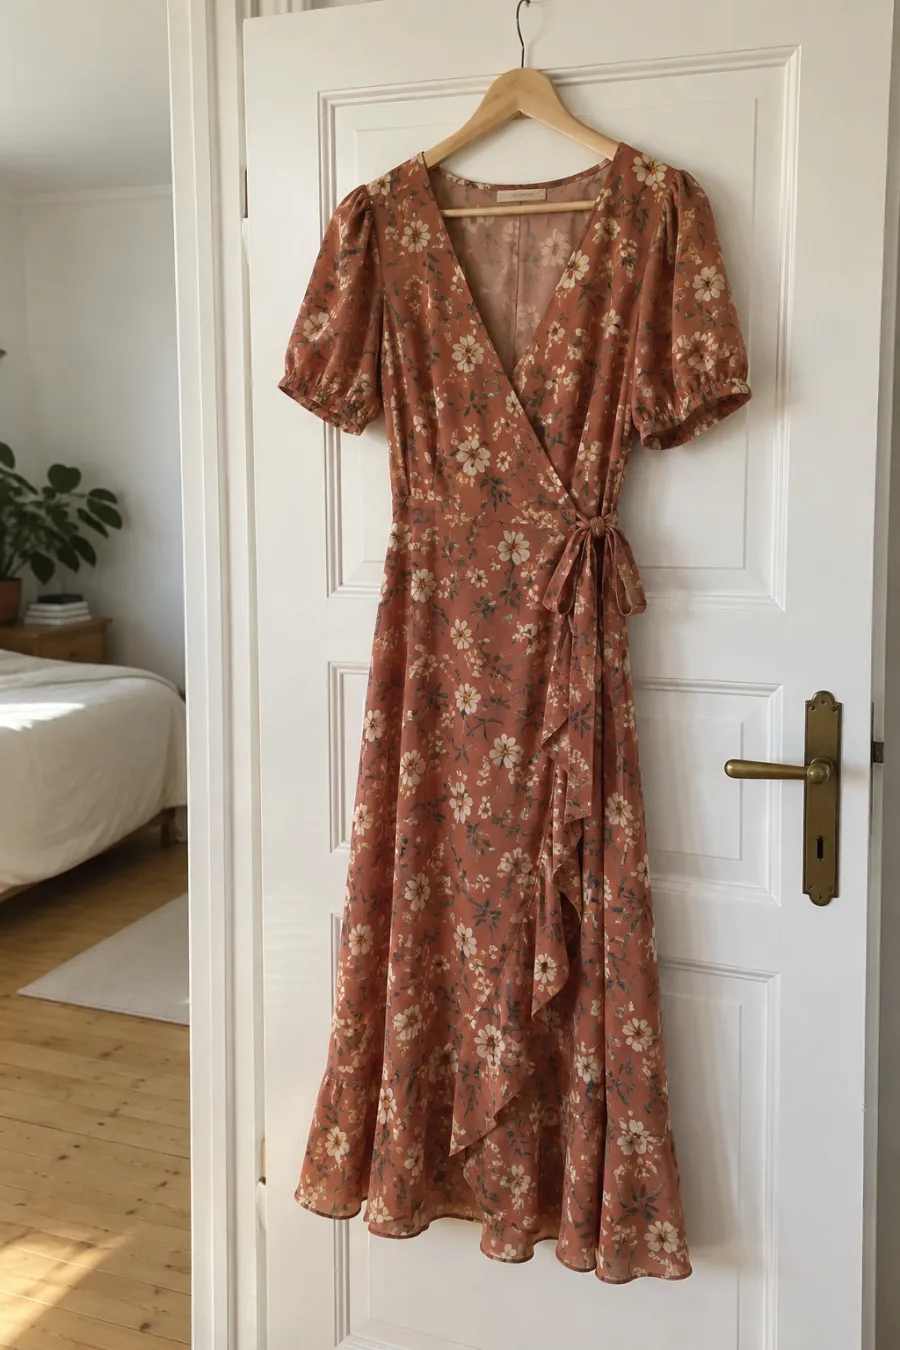 AI-generated
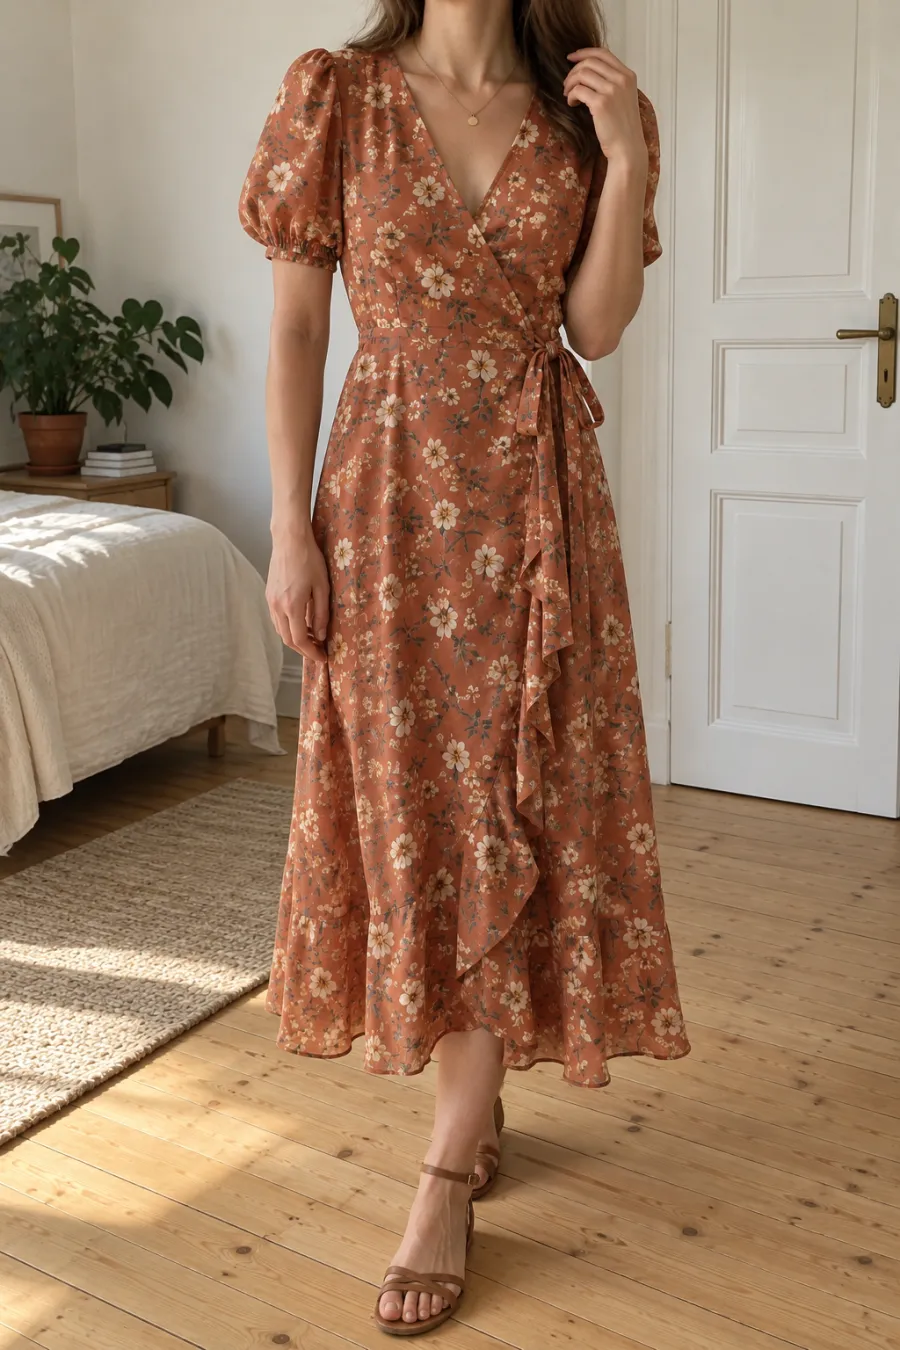 AI try-on image
In short
Show dresses worn from neckline to hem, on a dress form or as a labelled AI try-on image, so buyers can see where the hem ends. Photograph the back and the fabric up close, and give the length in centimetres. A dress lying flat on the bed says nothing about how it falls.
The 6 rules for dresses
Scroll, don't read
- AI try-on image
Full body.
From neckline to hem, or the most important information is missing.
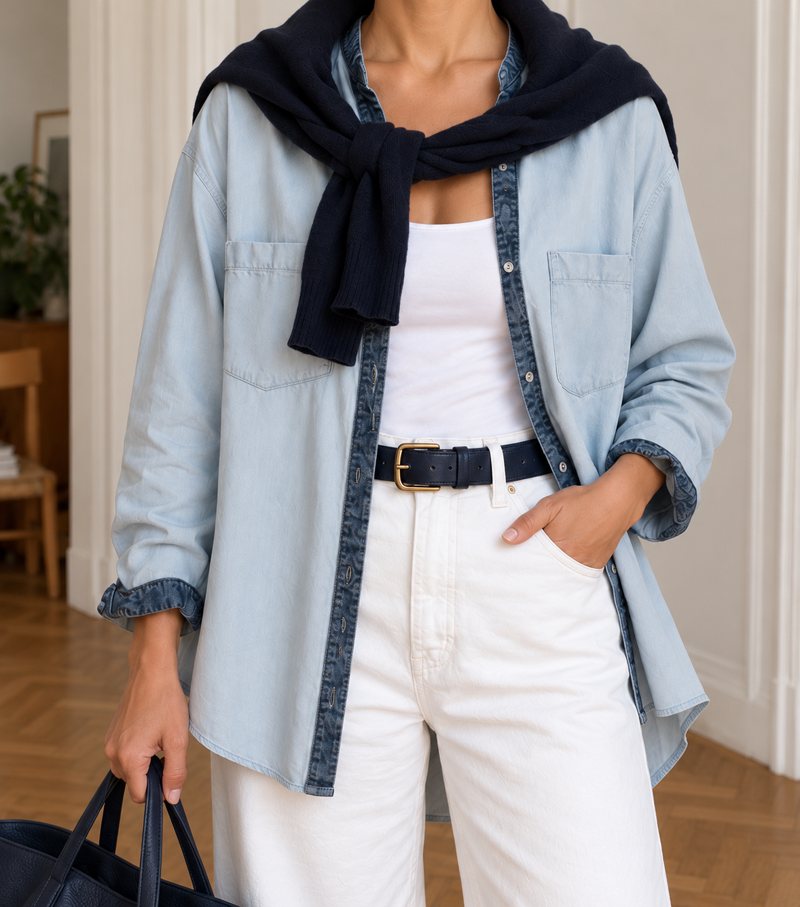 AI try-on image
Give the length.
Shoulder to hem in cm, plus knee-length, midi or maxi.
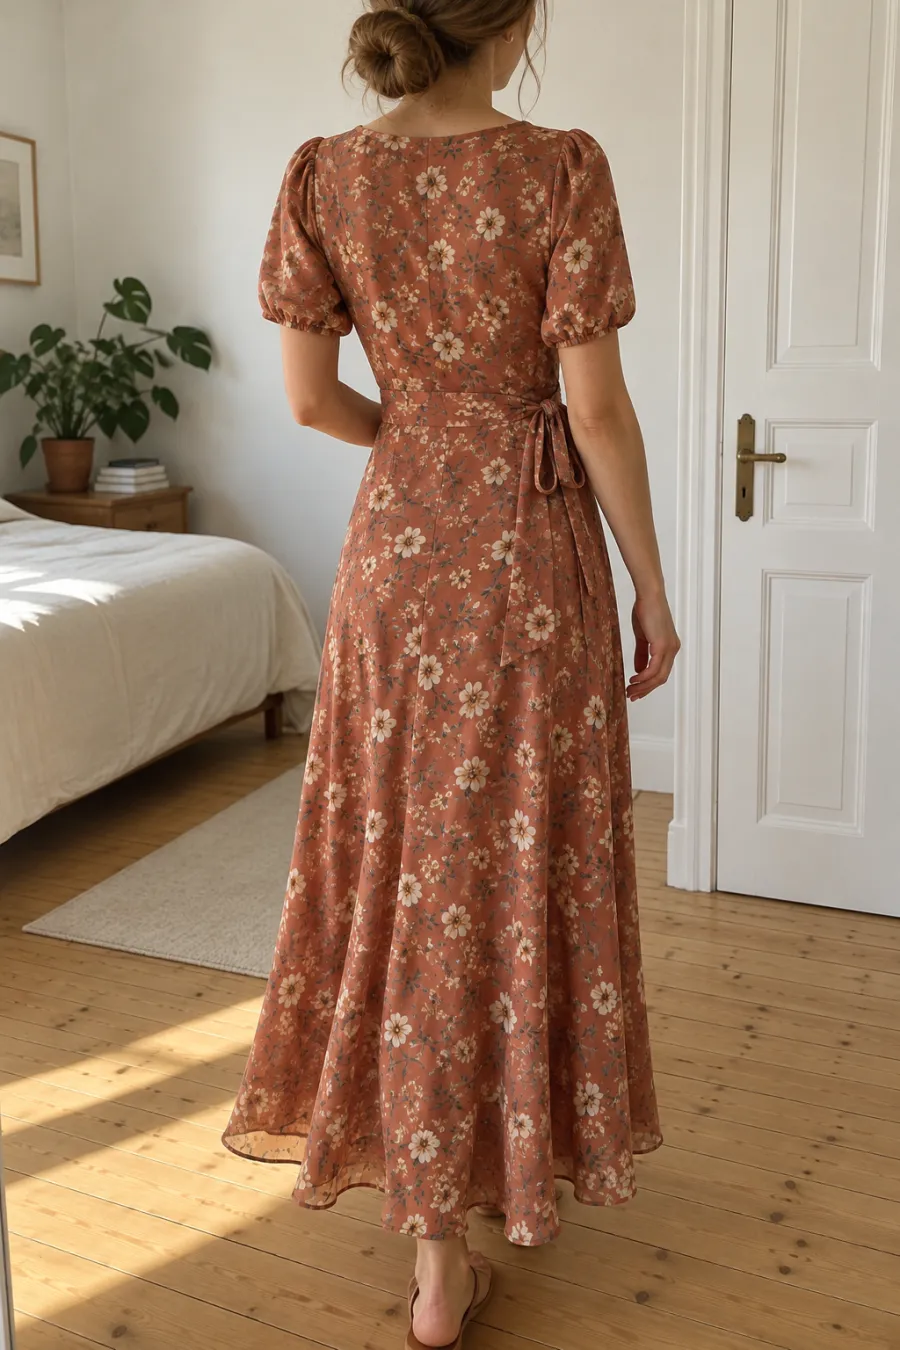 AI try-on image
Show the back.
Zip, neckline, bows: a lot happens at the back.
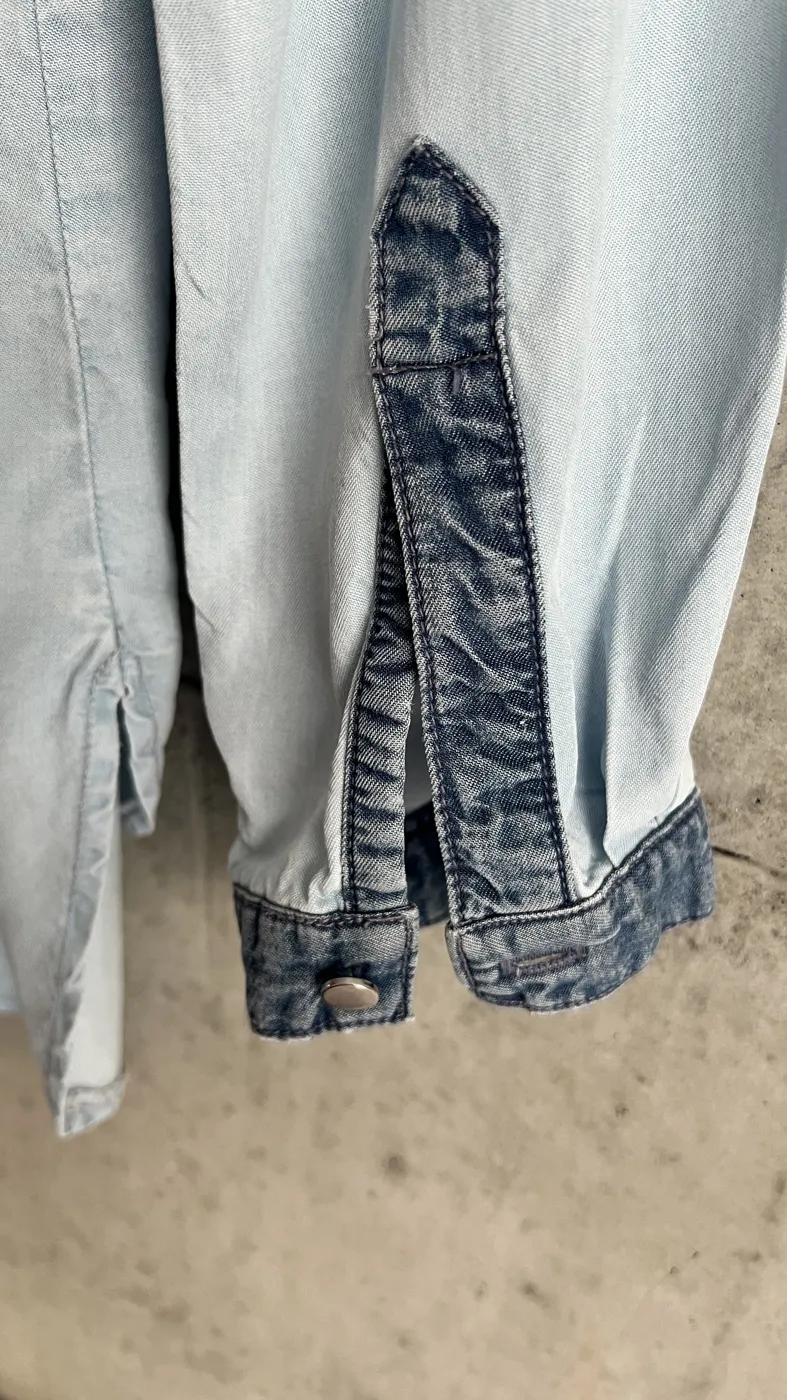
Fabric in detail.
You only see pattern and texture up close.
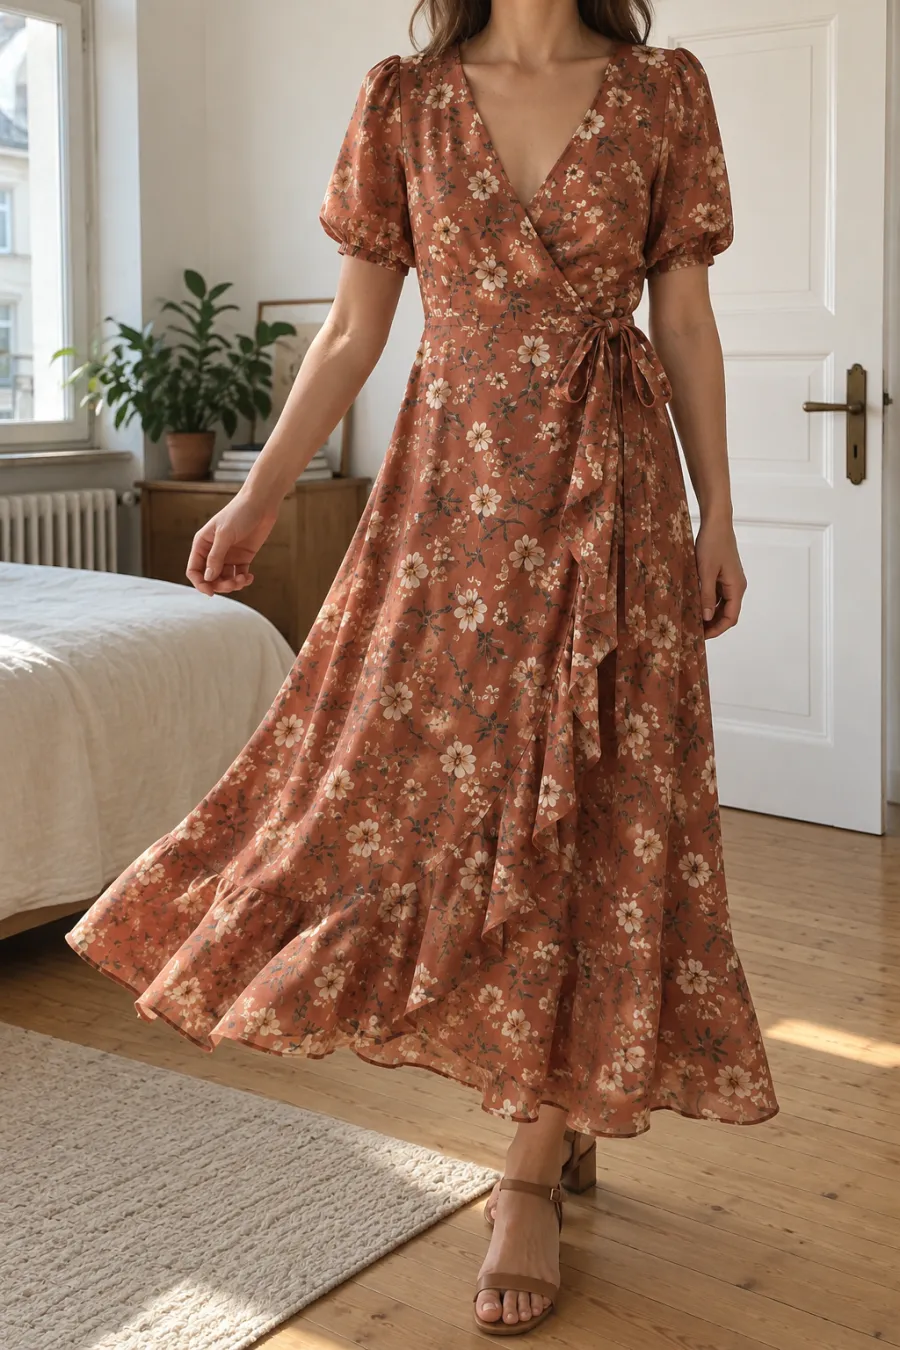 AI try-on image
Show movement.
Turned slightly, you can see how the fabric falls.
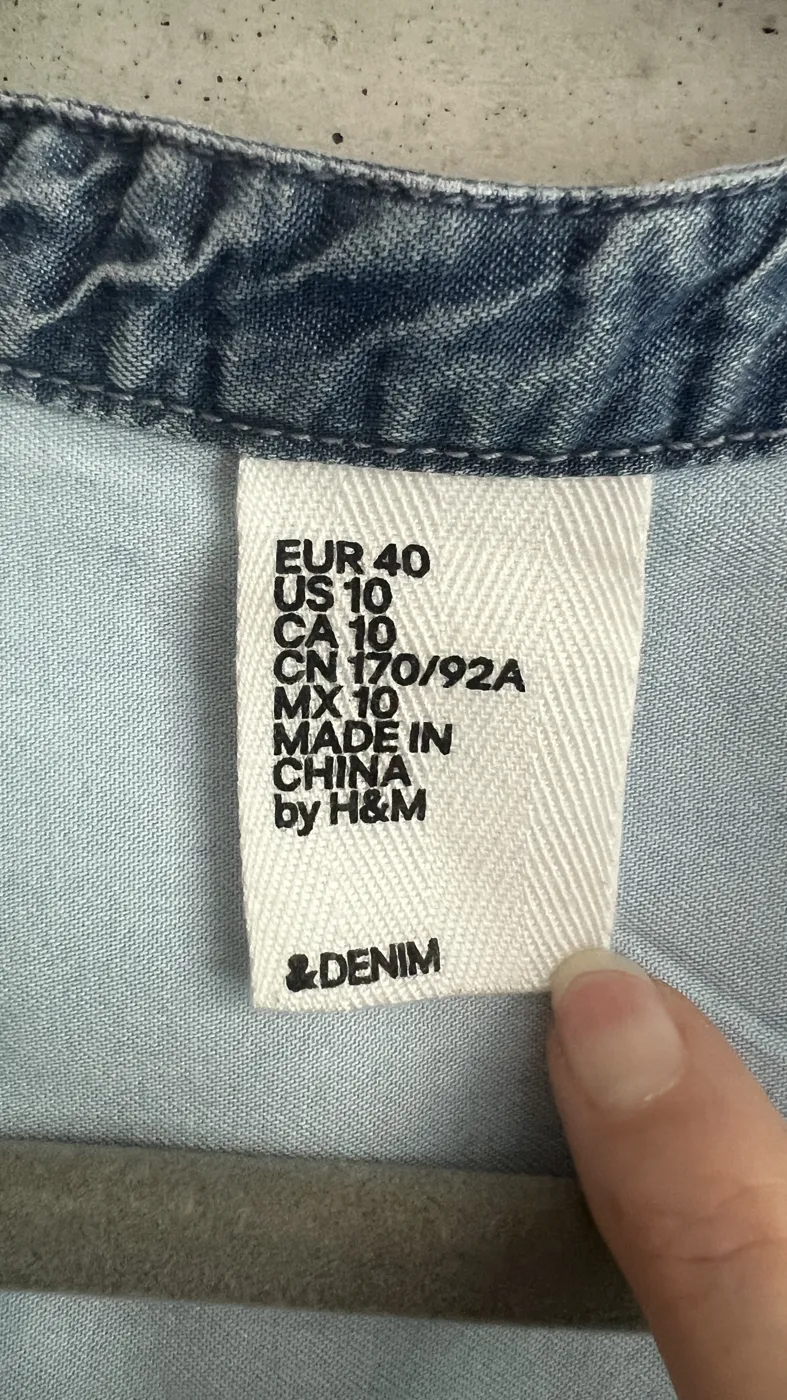
Label.
Size and material at a glance.
Frequently asked questions
How do I show a dress without a model?
With a dress form or a labelled AI try-on image first. Your real photos on a hanger go right behind it.
Which measurements do I need for dresses?
Pit to pit, waist and length from shoulder to hem.
Should I show the dress styled?
A styled look can help. Say that only the dress is for sale.
What do I do about creases?
Smooth them out beforehand. Creases distract, and on a dress they really show.